Showing posts with label Christmas. Show all posts

Friday, January 12, 2018

Christmas Mittens

Not Just for the Holidays Want2Scrap friends!! 
I have a pair ornaments to share with you today. I made them as gifts for a family member.


I started by gluing designer papers to both sides 
After the pieces were completely dry 
I distressed the edges of the papers and 
created a hole in one end using a hole punch.
  

I cut an eight inch long piece of twine. 
Then secured the ends together, 
in the shape of a loop, 
using hot glue.


The twine loop was attached securely 
through the hole created earlier.


I used an assortment of trims and laces to create a cuff. 
This served as a clever way to conceal the area where 
the twine was attached to the chipboard embellishment. 

Want2Scrap 12" Sleek Strips in white pearl and red rhinestone 
were used to enhance the beautiful striped paper 
on one side of the chipboard mitten.

Want2Scrap bulk bling pearls in coordinating colors 
were glued to the other side where the dotted paper was used. 
A cute red bow and mini red rose finished the look.


Want2Scrap Items Used:
Royal Blue, Black, Cranberry, Sage Green, LeCreme


HAPPY CRAFTING!


Friday, December 9, 2016

Celebrate the Season with Bulk Bling

Candy here and today I want to share with you how much I love to use Bulk Bling Pearls on my Christmas Cards.  When I make a bunch of Christmas cards and tags I am always looking for the most economical and quickest way to create beautiful items.  I love to use Want2Scrap's Bulk Bling Pearls with  Heartfelt Creations Paper Collections which include card fronts and tags and, sometimes even images that coordinate with Heartfelt Creations dies, to quickly create cards and tags that look so elegant!

I created my Sleigh Full of Gifts A2 sized card using Heartfelt Creations Celebrate the Season Paper Collection.  I used Heartfelt Creations Ornate Sleigh and Presents Die to die cut the sleigh and present images from the paper collection and adhered them to the card base using pop dots.  I adhered the non-adhesive Bulk Bling Pearls in White, Lavender and Purple using Beacon 3-In-1 Advanced Craft Glue. Finally, I added a touch of glitter to the sleigh and present for some sparkle.


Want2Scrap's Bulk Blink Pearls can be purchased in a variety of colors to coordinate with your project.  You get 1/2 cup pearls, which is approximately 700 flat back non-adhesive 8mm pearls.  

Bulk Bling Pearls
 
For more ideas and inspiration, please visit my blog Candy's Creations.  Have a good day!


Want2Scrap Products:


Cross Promotional Partner Products:


Other Products:  White Cardstock; Memento Dye Ink Pad - Sweet Plum; Art Glitter Ultrafine Transparent Glitter


Tuesday, December 18, 2012

Clean and Simple: Noel


Here's a fun Clean and Simple Card, also known as a"CAS"card.

The card was cut and scored. 
It's a simple card base, 4.25x5.5" folded vertically, rather than horizontally.

The patterned paper mat measures 4x5.25" and was lightly edged with a BG49 Copic Marker.
The word "NOEL" was created on the Cricut, and just the outline is used, rather than the letters.
Noel was attached with 3D Foam Tape and embellished with Turquoise Baby Bling.
The "O" is decorated with a Blank Craft Shape embellished with more Turquoise Baby Bling.

Some Snowflake brads and a swirl and leaf bling 
from Donna Salazar's 
were added to complete the card.


Products Used


Donna Salazar's Build Your Own Bling, Want2Scrap [shown]

Additional Products Used

Paper - October Afternoon
Cardstock - Neenah Solar White Classic Crest
Snowflake Brads - Creative Impressions
Other - BG49 Copic Marker

Adhesives Used

3D Foam Tape, Close To My Heart
Tombow Adhesive, Close To My Heart
note - Tombow Adhesive refills available here.

Links to purchase most of these products are made available. 
If you have any questions about this project, or any of the products used, 
please contact Want2Scrap via e-mail or through the comments. 

Please ... like Want2Scrap on FaceBook. 

Thank you for visiting.
Come back soon.


Sunday, December 16, 2012

Holy Season

Hello, AJ here sharing another Christmas card using Want2Scrap's bling. 


Since the holidays are quickly upon us, this is a quick and easy card.  A quick way to send off some homemade holiday cheer is to use up patterned paper and stamps.  I stamped my sentiment onto the oval die cut, and added some Baby Bling Rhinestones in Red to set it off.  I finished the card off with the Swirls Finesse in Black.

Want2Scrap Products Used:
Baby Bling Rhinestones in Red
Swirls Finesse in Black

Other:
Spellbinders Dies
ColorBox Black Ink
Gina K Designs Stamps
Basic Grey patterned paper

enjoy!!
AJ

Saturday, December 15, 2012

A Holiday for the Birds

Hi, Allie here with a Shabby Chic Holiday Tutorial.
Let's embellish a Bird Cage for the winter holidays.
I'm using this pretty Bird Cage on my door.


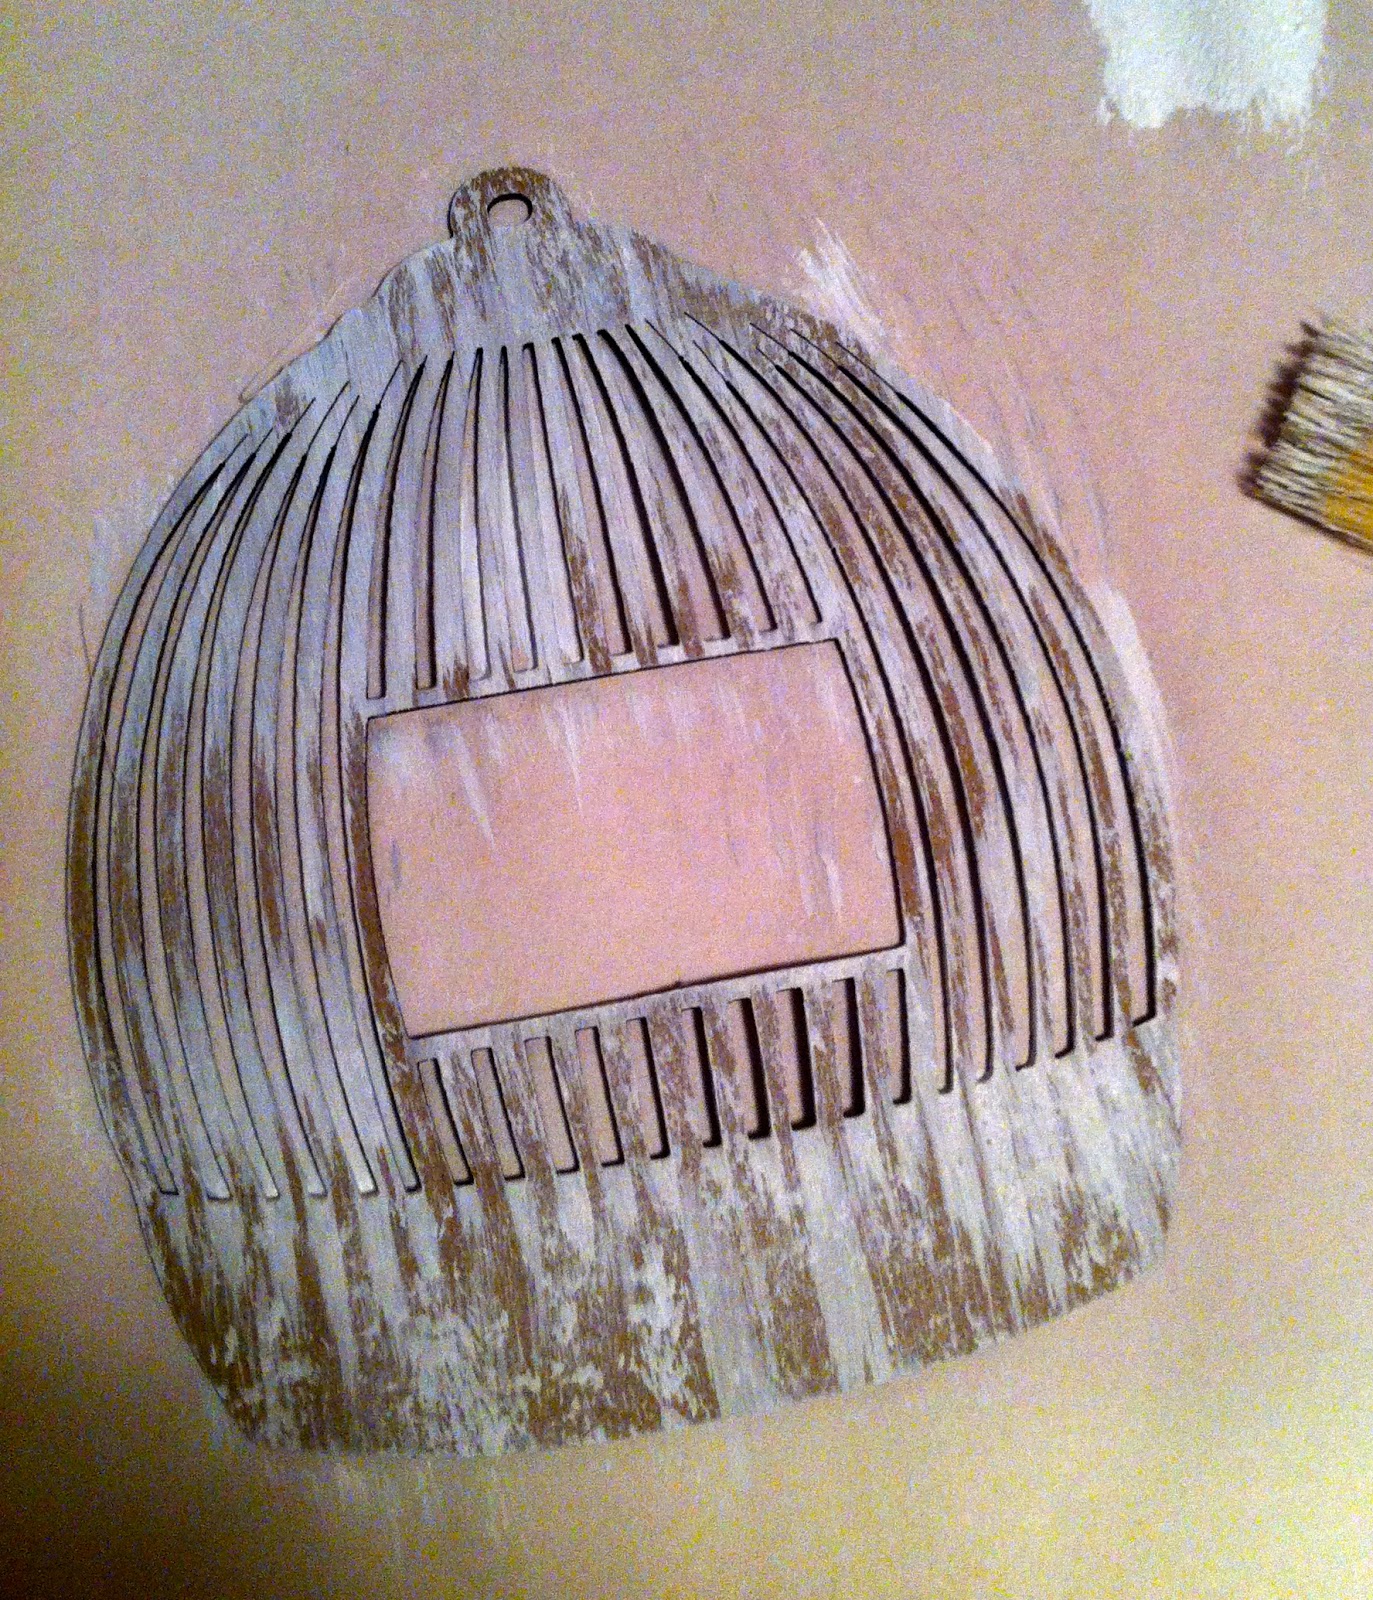
Begin by applying a layer of gesso. Use a dry brush technique, with
very little paint. Simply swish it back and forth.


While the paint is drying, you can apply patterned paper to the background piece.
Once the bird cage front is dry, sponge on ink.


Paint the Fancy Chipboard Title "Noel" with gesso.
Once the gesso is dry, lightly brush on Liquid Glass
and liberally sprinkle Sugar Shimmer.

Now, you're ready to decorate!
This project is embellished with an ornament,
a Frilly Flourish Swirl, some brads, and flowers.


Products Used

Designer Embellies - Bonnie's Bird Cage
Frilly Flourish Swirl - Silver Rhinestone
NOEL - Fancy Chipboard Word

Partner Products Used

Patterned Paper from the Secret Garden Collection - My Little Shoebox
Please visit the My Little Shoebox Blog for more inspiration!
Sugar Shimmer - Designed by Donna Salazar for ClearSnap

Additional Products

Snowflake Ornament - Big Lots
Paint - Claudine Hellmuth
Ink and Liquid Glass - Close To My Heart
Snowflake Brads - Creative Impressions
Flowers - Prima

Thanks for joining us today. Be sure to check out our sale. You can click here - or on Santa up above.
Leave us a comment - tell us your favorite thing to do with chipboard - and you'll have a chance to win some Fancy Chipboard Words.

Thursday, December 6, 2012

Merry Christmas to you

Hiya, AJ here to share a Christmas card using Want2Scrap bling!

My card today uses the 72 Count Rhinestones in Dark Green, and the Beautiful Blooms Beautiful Bling Borders from Nina.  I guess when it comes to Christmas, there's never enough sparkle!! ;)
I embossed the red layer using an M-Bossabilities folder before adding the border to it.  *Tip:  If you are going to be covering up part the border with a die cut, snip your bling, and only place where it shows to stretch your supplies. :)

Want2Scrap products used:
72 Count Rhinestones in Dark Green
Beautiful Blooms Beautiful Bling Borders

Stamps- JustRite Stamps
Spellbinders dies
May Arts trims
ColorBox Ink

enjoy!

Friday, November 30, 2012

Christmas Ornament Joy

 
Hi Everyone!
True :D here with a fun Christmas ornament that I quickly created with some Spellbinders dies, Want2Scrap chipboard and bling.
 
 
 Want2Scrap products used:
 
Preferred Partner Products Used:
Spellbinders Paper Arts:
 
Cross Promotional Partner products:
Art Glitter - #85 Crystal Ultra-fine Transparent glitter
Beacon - Fabri-Tac glue
Glue Arts - Square Adhesive Dots
 
Other product used:
green satin ribbon from Really Reasonable Ribbon
designer paper, gold embossing powder and adhesive, wire
 
Thanks so much for stopping by!
Hugs!


Thursday, November 29, 2012

NOEL

Earlier in the month, I shared a project using Nestabling Pennants.
I didn't use all the sizes, so I had leftovers,
so I thought I'd trim those up and use them to
decorate this adorable cube.

I started by covering the cube with papers from Authentique.
I left the edges exposed, I thought the white was sparkly 
and reminded me of snow.
Have you seen any of that elusive stuff yet this season?
I saw a flake or too here in Minnesota. Not much though!


I colored and "dusted" Stylish Chipboard Alpha with Sugar Shimmer glitter
from ClearSnap [Donna Salazar]. This sparkly stuff is so cute, it comes in a salt shaker!


This little tree is from the train section at a hobby store.
I added some gesso "paint" and then
I decorated it with some buttons from Buttons Galore.


More buttons, held in place with some pins from Maya Road.


These sparkly poinsettias from Prima really finished off the piece.
The letters are super sparkly, but I still added some Baby Bling
to make sure they could really Bling in the SEASON right.

Thanks for making us a part of your day. I hope your season is "Blinging" along nicely!

Allie

P R O D U C T S   U S E D


Additional thanks for products to our partners, Authentique and Donna Salazar.

Saturday, November 24, 2012

Nestabling Christmas tree

Hi all- AJ here with a fun holiday card to share using Want2Scraps Nestabling.


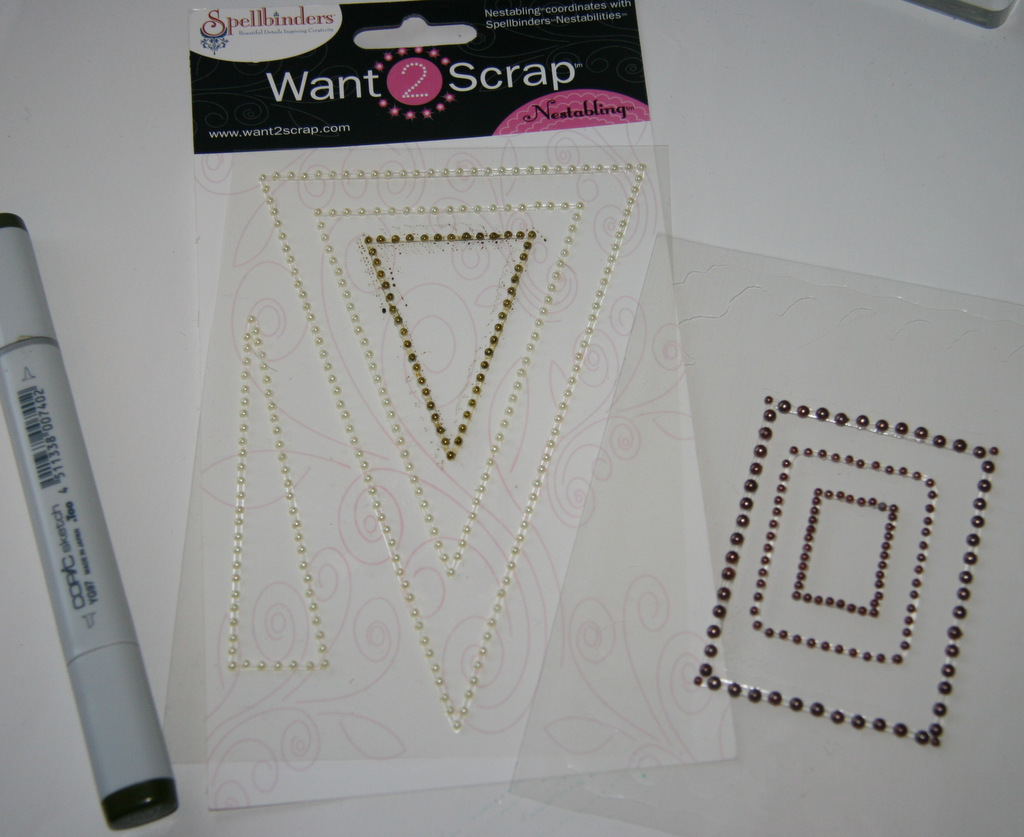
My card today uses the Nested Pennants in Lemon to create the tree top, and the
Lattice Rectangles Nestabling in Mocha Pearl to create the tree trunk.   Yellow wasn't quite the color I wanted for my tree, so I went another route to make it work!   I finished off the adorable reindeer with a small rhinestone from the 72 Count Red Rhinestones.

to color your Nestabling pearls, leave them right on the plastic backing, and use your favorite Alcohol based marker.  (You can also color on your clear rhinestones)

Want2Scrap Products used:
Nested Pennants in Lemon
Lattice Rectangles Nestabling in Mocha Pearl
72 Count Red Rhinestones

Stamps- Hero Arts
Adhesive- Scrapbook Adhesives by 3L

enjoy!

AJ

Tuesday, December 13, 2011

Vintage Christmas Ornament -Tag

Hello again. I hope everybody is enjoying their Christmas Season with lots of family, friends, shopping and good food. We’ve had a slow start, but now in full swing with all the season has to offer. But the most important is family.

My project today is a Vintage Christmas Ornament/Tag. We have many friends that are big on wine, and get together for wine tasting. So each year we give them a bottle of wine, and I make a custom tag that fits their décor, and colors to place on the bottle. I think it’s so funny that they love seeing the different tags I’ve made for them, and look forward to receiving them more than the wine LOL!! Then use them as a Christmas decorations the following year.

I made a quick step-by-step video showing you how this lovely project was created.

Thanks for visiting today - Linda :)


Supplies Used:


Want2Scrap™

Nestaboard Lacey Ovals

Nestabling Lacey Ovals all Silver Rhinestones


Cross Promotional Products:

Spellbinders™

Lacey Ovals Nestabilities®

Layered Poinsettia Shapeabilities®

Standard Circles SM®

JustRite Cling Stamps, Merry and Bright.

Beacon Zip Dry Glue.

Graphic 45 Baby & Bride Collection.


Other Products:

Vintage Photo, Tea Dye Distress Inks.

Sandal, Salmon and Juniper Acrylic Paint Dabbers.

May Arts Silver Cord, and Crochet Lace.

Crystal Coarse Glitter.

Tape, 2-Way Glue.

Glue Dots.

Maya Road Trinket Beads - Dangling Chandelier

Silver Beads.

Fun Fur.


Friday, December 2, 2011

Nestaboard and Nestabling holiday ornaments


Hey there!  I love to make handmade photo ornaments for the Christmas tree every year.  Last weekend we had our annual backyard photo session for our holiday card and I was able to capture a cute one of my girls to use on a photo ornament.  This year, I was feeling paint-y, glitter-y and purple!  In order to accomplish the many layers of paint, glitter and glue I had in mind, I needed to turn to a quality chipboard base....Want2Scrap Nestaboard to the rescue!


To accomplish the shabby look I love, I began with a layer of acrylic paint from Eco Green Crafts.


An easy way to to get a peeled paint look is to lightly press your still wet painted piece onto a non stick craft sheet and then quickly lift it back up.  Presto!  Gorgeous shabby results!


To add a little purple to the mix, I used a watered down purple acrylic paint and dry brushed from the edges of the Nestaboard Labels Nine towards the middle.  I did these paint treatments on both sides of the Nestaboard.


Once my paint layers were dry, I applied Nestabling Labels Nine Purple Rhinestone to the Nestaboard and removed the top three purple bling from the Nestabling frame to accomodate the shanked snowflake button that I planned to insert through my crop-o-dile punched hole.  In addition to the Nestabling frame, I went to town with liquid glue, chunky glitter, fabric dimensional paint and fine glitter on the front of the ornament.


As you can see in the photo above, the button shank is available on the backside of the Nestaboard and can serve as a hanger for the ornament.


Despite literally 5 different layers of wet paint and glue Nestaboard holds its shape nicely without warping!  I love that!  The ultimate opportunity to go "shabby"!


My finished ornament has lots of happy sparkle...starting with the twinkle in my girls' eyes!


Remember how I removed three purple bling from the Nestabling in the step above?  I was able to use one of those available gems to add a custom purple touch to my button snowflake using Beacon Adhesives 3in1 Advanced Craft Glue. 


The frosty white frame was achieved with dimensional fabric glue in white pearl topped with micro glitter...very sparkly snow on a winter's morning.  It looks great against the purple Nestabling!


Another year of handmade photo ornaments in the books!  I love this creative tradition...I hope it inspires you to incorporate photos and Want2Scrap into your holiday art pieces as well.  Thanks ever so much for coming by today....I so appreciate it!!!


Want2Scrap Supplies:

Cross Promotional Products:

Other Products:
Twine: The Twinery
Glitter: Martha Stewart
Stamp: Creative Imagination
Ink: Stampin Up!
Punch: Crop-o-dile
Crafts supply: button, beads, Cardstock Scraps

LinkWithin

Related Posts with Thumbnails
Pin It button on image hover