

Hopping down the blingy-trail...

Hippity Hop Hop - I love to play with Want2Scrap BLING... ev-er-y dayyyyy!
Howdy, friends of Want2Scrap! Have you ORDERED your Nestabling yet?
I am, literally, stalking the mail person in our neighborhood! Can't WAIT!
Meanwhile...In contemplating a seasonal project,
featuring BLING{!!!} I had an epiphany:
EVERY season, goes better with BLING! {EVERY season!}
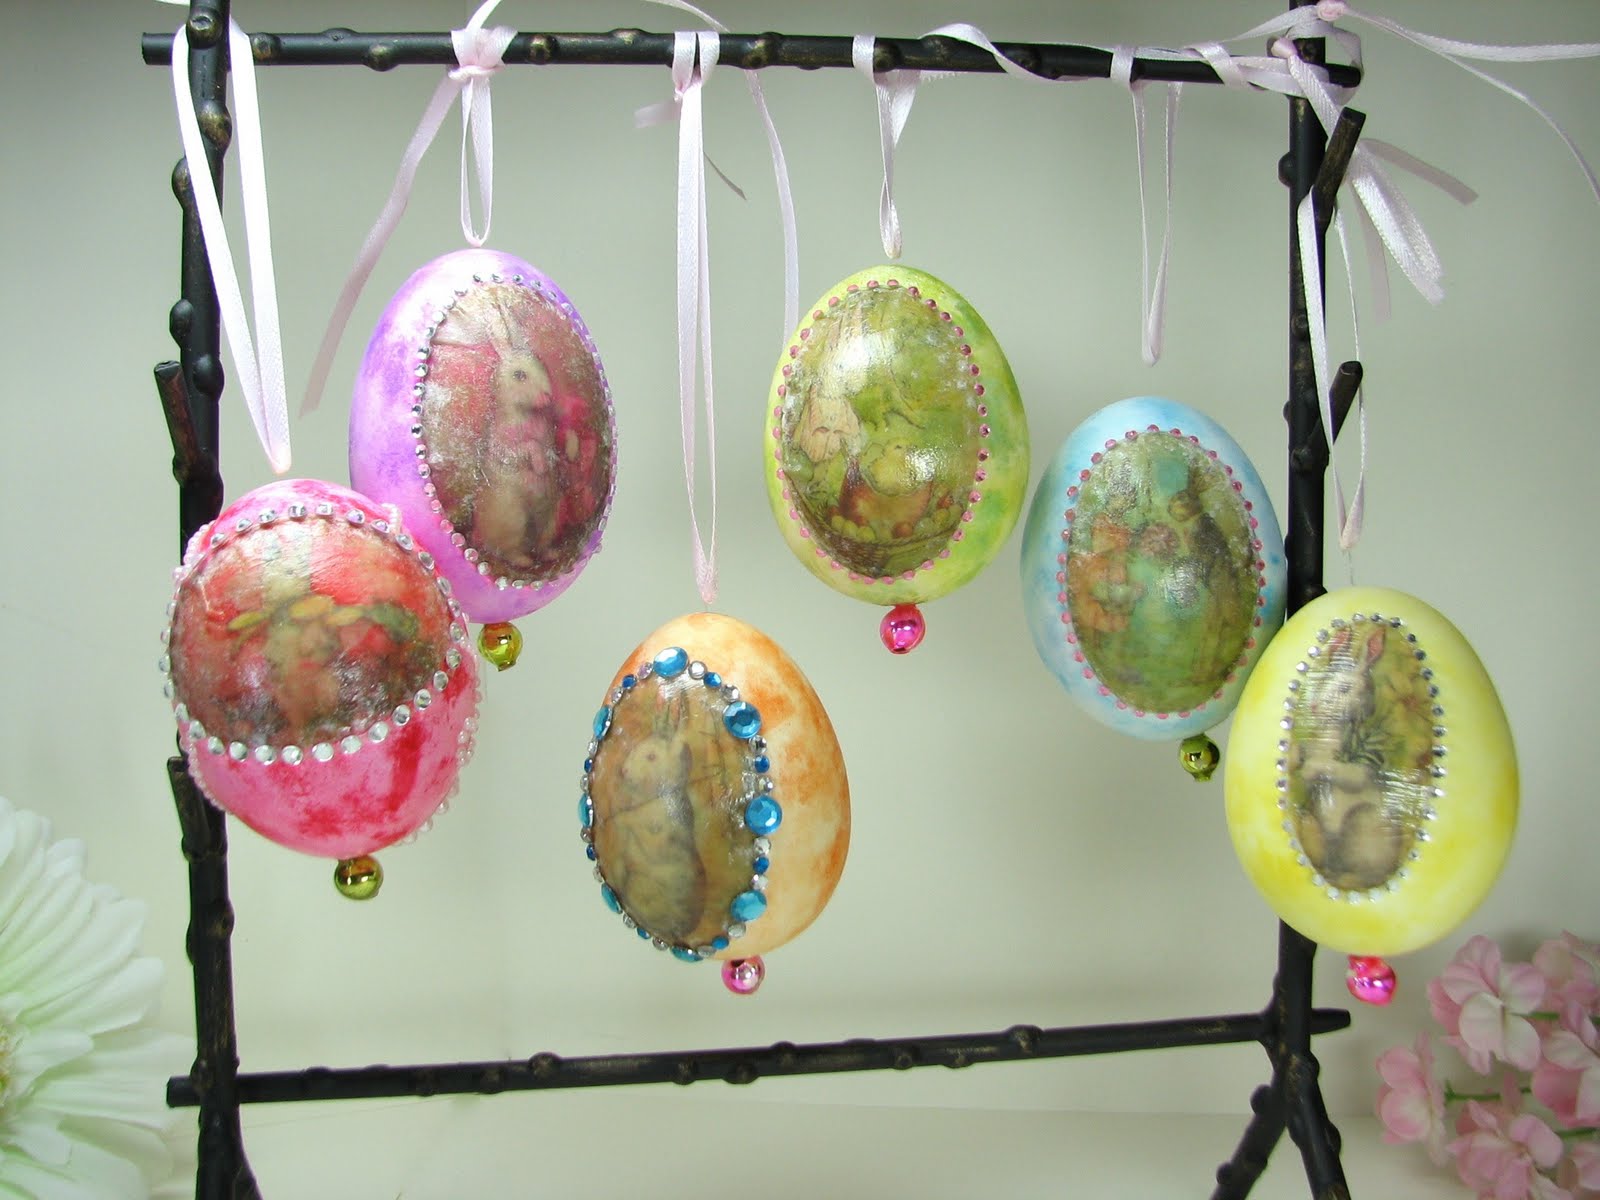
How's that for a transition into EASTER EGG art!?! Move over Faberge!
Want2Scrap bling makes ANY project, PRICELESS! Here's one to inspire
YOUR seasonal crafting - get ready to embellish SPRING, like never before!
Howdy, friends of Want2Scrap! Have you ORDERED your Nestabling yet?
I am, literally, stalking the mail person in our neighborhood! Can't WAIT!
Meanwhile...In contemplating a seasonal project,
featuring BLING{!!!} I had an epiphany:
EVERY season, goes better with BLING! {EVERY season!}
How's that for a transition into EASTER EGG art!?! Move over Faberge!
Want2Scrap bling makes ANY project, PRICELESS! Here's one to inspire
YOUR seasonal crafting - get ready to embellish SPRING, like never before!

Prepare some faux or "blown" eggs, decorative paper to make transparent accents,
BLING and alcohol ink.... clear dimensional glue, ribbon, clear thread, a LONG needle
and your inner "bunny" ... {to bring out the MAGIC of Easter!}
BLING and alcohol ink.... clear dimensional glue, ribbon, clear thread, a LONG needle
and your inner "bunny" ... {to bring out the MAGIC of Easter!}

Using alcohol ink and a baby wipe, dab color onto your eggs, then set aside to dry...

Using a needle LONGER than the length of your eggs, thread clear thread and tie it to
a medium size bead to anchor thread from the bottom of egg. Carefully find the top hole
and gently push needle through the top, stitching several times through the
center point of the ribbon, then secure with knot.
a medium size bead to anchor thread from the bottom of egg. Carefully find the top hole
and gently push needle through the top, stitching several times through the
center point of the ribbon, then secure with knot.

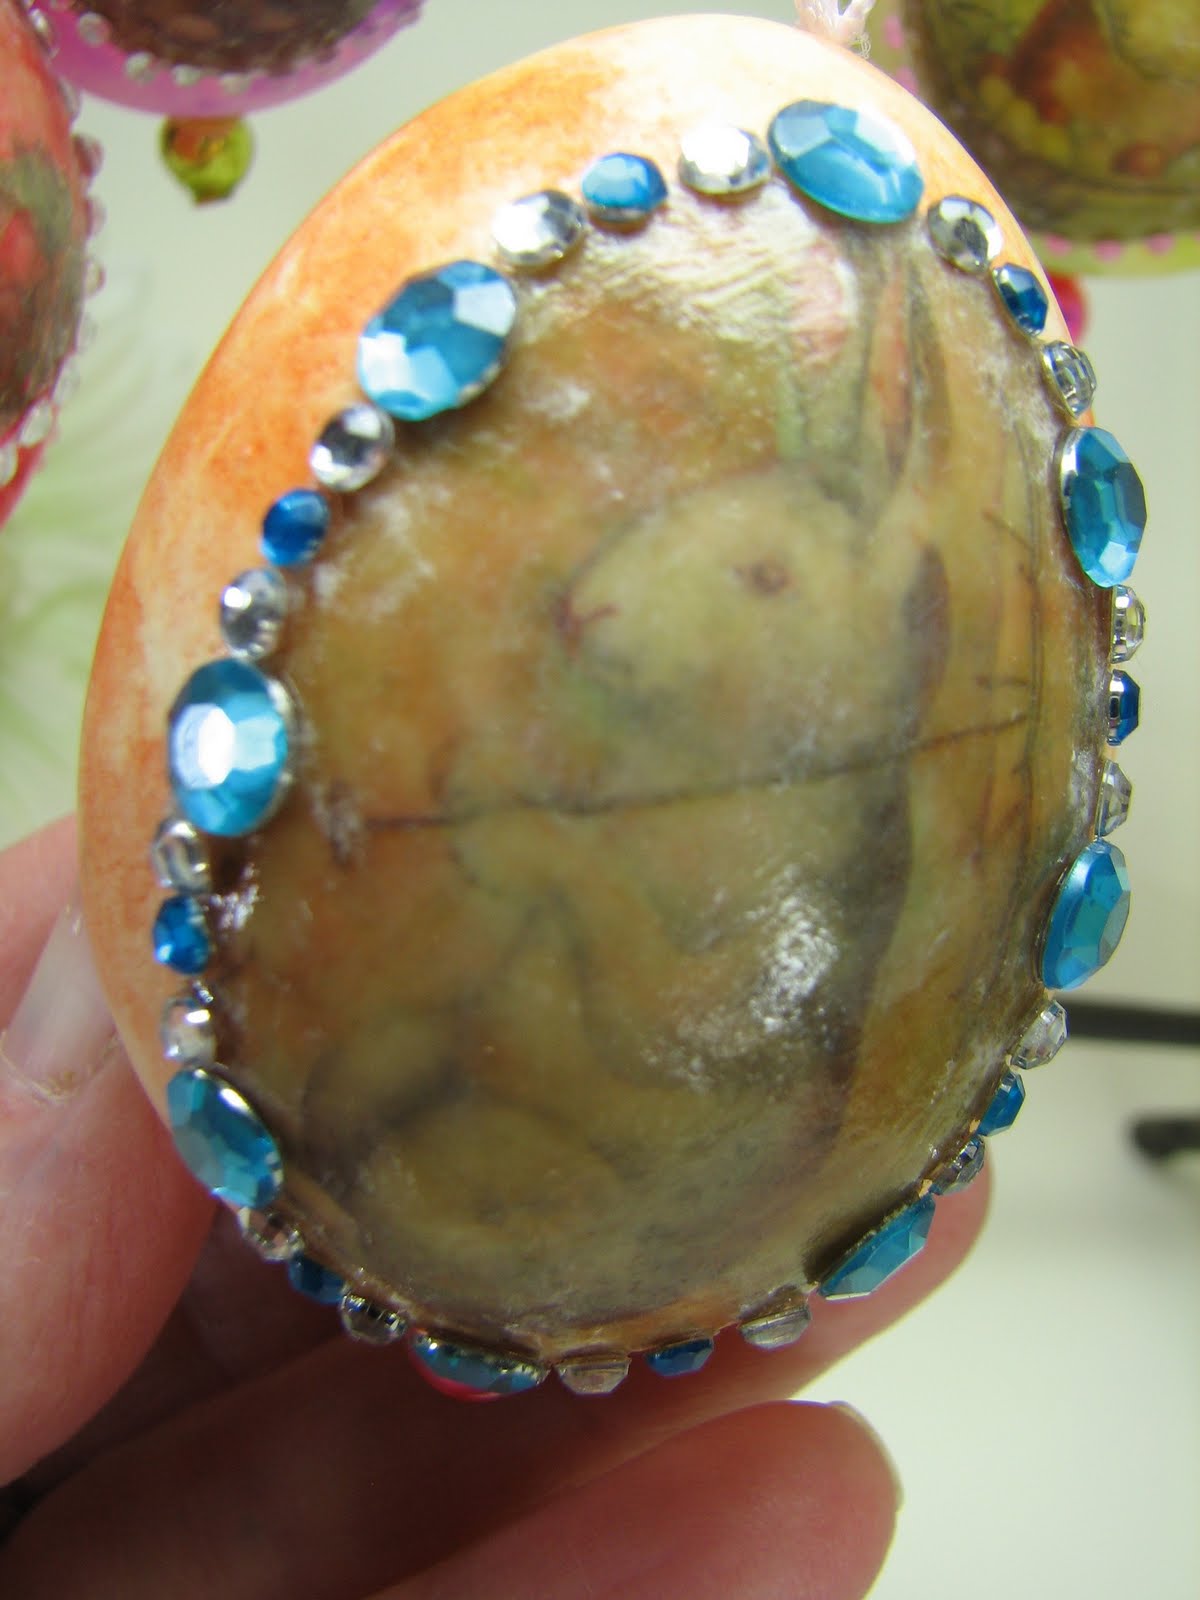
Apply transferred image to desired location on egg and glue. Smooth out wrinkles and
work into the contour of the egg shape, continuing to smooth and shape. Apply clear
dimensional glue to the top of the transferred image with a small, stiff brush and continue
to work the contour of the image until the image sits flat and the image is well covered.

Once dry, embellish the edge of the transfer with Want2Scrap bling!

I used some leftover Nestabling to custom create my bling-a-licious frame!
{Don't ignore Nestabling that comes in a shape you may not think you can use...
there is SO much pre-glued bling per shape, ALL shapes are a huge value
when you let yourself dream of shapes and uses "off the map!" *wink!*}
Cut bling strips into strips long enough to wrap around desired image,
but not so long that they don't lay flat. For longevity sake, secure ends
of each strip of bling with a little dab of clear glue. Custom bling accents ROCK!
Due to the wonderfully forgiving, yet incredible Want2Scrap pre-glued,
sparkly gem-festooned bling shapes, it was so fun
and easy to embellish my lovely Easter Eggs and make them sparkle, as if the
Easter bunny, himself, left them ... {I hope you'll help me keep the secret! hee hee}

The proof is IN the sparkly goodness!


Here's hoping YOU have a VERY blingy and wonderful Easter
and that the Easter bunny will forgive us, if we OUT SPARKLE
him a little this year!
and that the Easter bunny will forgive us, if we OUT SPARKLE
him a little this year!
Bling IT onnnnnnnnn, friends!
I'm delighted you stopped by! I hope, hope, hope I've inspired YOU
to decorate your world... with A LOT more BLING!!
Yee Haw!

I'm delighted you stopped by! I hope, hope, hope I've inspired YOU
to decorate your world... with A LOT more BLING!!
Yee Haw!


yeehaw!!! these are just GORGEOUS!! can't wait to get my nestabling!!!
ReplyDeleteThese are so pretty.
ReplyDeleteWhat a great idea and tutorial! Just gorgeous eggs, Elise!
ReplyDeleteOh my goodness. These are wonderful. I could use up all my bling and then I could go S H O P P I N G Fun fun fun.
ReplyDeleteI love your blog and Happy Birthday. I came here for sweet LeAnne's blog. I knew I would find something wonderful if she said so. And I did.
Thanks for the tutorial on the wonderful eggs.
Love these beautiful Easter Eggs, I might just have to make a version of my own. Nicely done Elise...love them
ReplyDeleteThis is so UNIQUE!
ReplyDeleteHoly cow Elise, these are just AMAZING!!! Absolutely love it!! Still picking my jaw up off the ground girl!
ReplyDelete