Wednesday, February 24, 2010
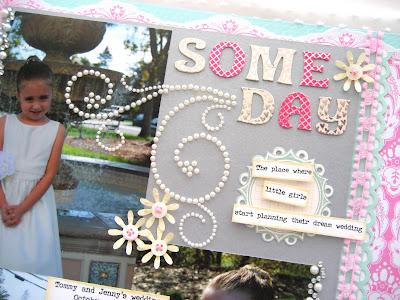
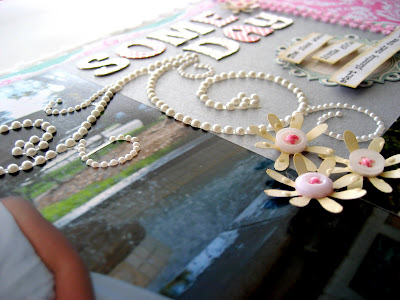
Oh my pearls and bling!
Saturday, February 20, 2010
“For You” Acrylic Tag
Hi everyone!! I'm so thrilled to be posting here for the very first time on the Want2Scrap blog! For those of you that don't know me (probably a lot of you, LOL), I'm a hardcore card maker...but when I got my Want2Scrap goodies in the mail, I just couldn't wait to dive in head first and try out something new. So after my initial shock of all the FABULOUS products I received...and there are a LOT, I decided to ease into this new endeavor with one of the acrylic tags I got. So here's what I was able to do with it. :)

Now, taking pictures of clear acrylic proved to be...well, interesting! So I have other shots to share with you.

Did you know that Want2Scrap actually carries more than just acrylic?? Well, from what was sent to me, I used the acrylic tag, some of the ribbon, and chipboard heart. And let me just say...you get a LOT of chipboard hearts in one package...LOVE THAT!

To get my chipboard all gorgeous and glittery, I first applied Ranger's Snow Cap Acrylic paint, and once that dried...which was pretty quickly, I covered it with Crystal Effects and smothered with White Gold glitter from Martha Stewart. I also blinged up the edges of my acrylic by simply applying Silver Stickles.
I think this makes a GREAT tag for wrapped gifts and even hanging from a gift bag. Sooo many uses for these tags..how about on a keychain? The ideas are just swirling people! With that said, I better get scootin' on a larger acrylic project, yes?? :)
Now, let’s see what kind of tags you can come up with! Can’t wait to see your projects.
Friday, February 12, 2010
Chipboard Stars with Ink and Bling
Have you ever tried using ink on chipboard items? If not, then this project is for you! Using chipboard and ink is fun and versatile and the best part is being able to tailor your embellishments to match your project.
This is my adorable niece Adrienne. The stars by Want2Scrap suited this layout perfectly and I decided to dress them up a bit with some spray inks and Want2Scrap bling.
If you would like to try this technique, it is really easy. For the stars I first painted them white then I sprayed both red and blue spray ink on to them. Then I just popped them up and added a little bling. There you go. A perfect little shooting star!!
What better way to make a layout all American than to add a little denim pocket. I chose to adhere my journaling to the pocket but another idea is to use the pocket to hold some hidden journaling, a card or a note.
See if you can come up with fun uses for your chipboard project. I hope this has inspired you! Can’t wait to see what you come up with!


