I started with two pieces from the Grand Chipboard Album - Labels Four. I covered the front with Melissa Frances papers with inked edges and adhered the pleated lace right on the edge using Beacon Adhesive's Fabri-Tac.
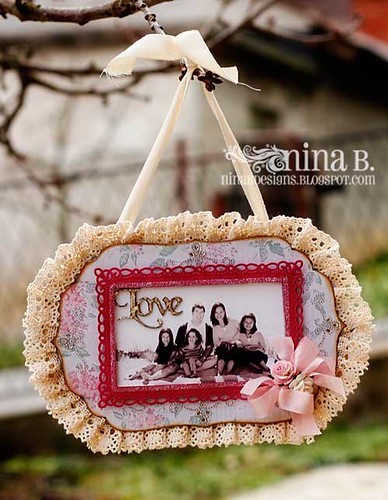
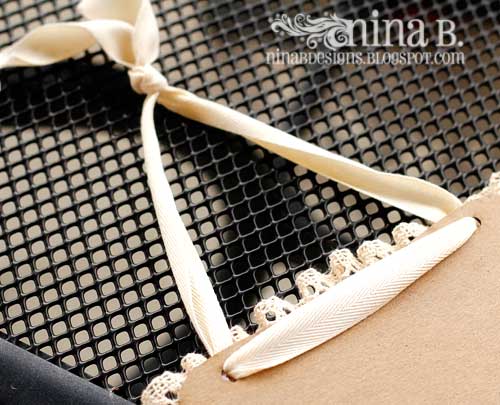
I punch two holes on the back of another piece of chipboard album and threaded the twill ribbon through, tied a knot and made a hanger for my frame. I adhered this piece to the back of my decorated piece.
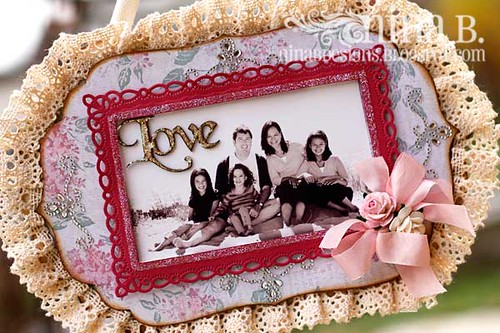
Here is the close up of the front. I placed Beautiful Bling Borders-Fancy That! on the four corners. I die cut a Spellbinders' Romantic Rectangle in a coordinating cardstock. I placed Scor-tape along the edge and sprinkled Art Glitter on it. I adhered the photo in the center of the frame using GlueArts U-Cut-It® 4x4 to add dimension. I adhered the frame to the center.
Here is the close up of the front. I placed Beautiful Bling Borders-Fancy That! on the four corners. I die cut a Spellbinders' Romantic Rectangle in a coordinating cardstock. I placed Scor-tape along the edge and sprinkled Art Glitter on it. I adhered the photo in the center of the frame using GlueArts U-Cut-It® 4x4 to add dimension. I adhered the frame to the center.
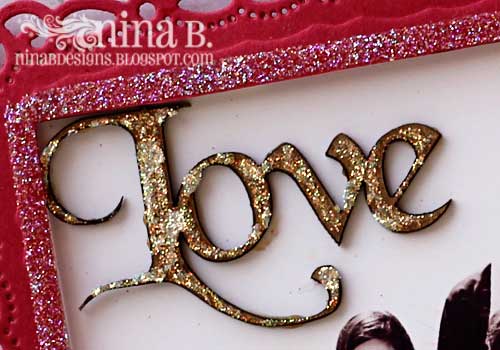
I then covered the "Love" from Chipboard Sentiments- Words of Love with glue and sprinkled Art Glitter on it as well and adhered it right on the photo. You can see here closely the glittered edges of the frame.
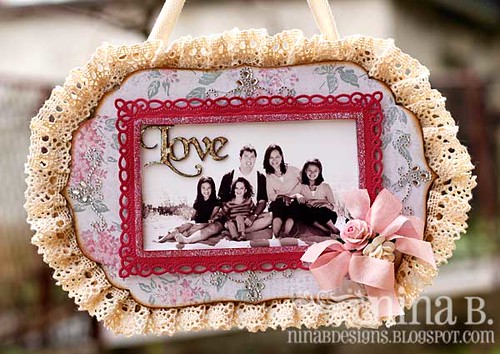
To finish the hanging frame, I adhered a seam binding bow and two paper roses on the bottom right corner.
How about you? Do you like making handmade gifts for the holidays? I enjoy making and giving them away because it feels like I'm giving a part of myself when I do. It is especially fun when you get the whole family involved.
Want2Scrap Products used:
Come visit me on my blog, Crafting in Croatia.


So lovely, Nina!
ReplyDeleteWOW! I love all the details. Simply Beautiful!
ReplyDeleteBeautiful Nina, I'm sure your parents will love it.
ReplyDeleteLove your photo hanging of your beautiful family, Nina! So sweet!
ReplyDelete